I picked up one second hand for £60.
It is an outdated model SeaLife Camera History | Sealife Cameras.
Compared to my Olympus XZ-1 (£400) and its waterproof case (£320) this is a real bargain at under 1/10th the cost.
It was a risk-free purchase to see if I could learn enough about underwater photography on holiday to gauge whether buying the case for my XZ-1 would be worth it.
Basically it is a waterproof custom case with a fitted 6MP point and shoot camera.
The camera is nothing special, it's the enclosure that made me buy it.
It's well made, and as a beginner's tool it worked surprisingly well.
It's restricted in aperture (f/2.8 - 4.8 ) and ISO range (64 - 200), 3x zoom and maximum 1GB SD card size.
Spare batteries are available very cheaply, and battery life is about 45 minutes in constant use, more than enough for me as a beginner. I didn't fill a 1G SD card even using 3 batteries !
Support from Sealife seems good, as the manuals are online for all their models, including this one http://www.sealife-cameras.com/sites...Manual_Eng.pdf.
The fibre optic flash trigger cable adapter for external flashes is a great idea, more reliable than backscatter to trigger the flash.
I haven't tried ordering spares, but the manual gives part numbers for the replacement o-ring and dessicant capsule. Since they are still producing cameras there may be old parts on their shelves.
There are parts of the manual that make me think I may not be cut out for this ...
"With the 24mm wide-angle lens you fit ... a 6-foot (180 cm) shark at a shooting distance of 6 feet"
But plenty of useful tips, like the hyperfocal setting:
"To minimize the shutter lag time we suggest keeping the camera set to landscape (infinity) focus [ ]. All underwater subjects beyond 11/2 feet (50cm) shooting distance will be in focus"
and the subject distance:
"Always remember to limit your shooting distance to 1/10 of the water visibility."
and the ideal distance:
"The ideal shooting distance is between 2 to 6 feet (0.6 to 1.8 meters). This distance will result in detailed, colorful pictures."
Pretty much as I discovered while learning ... without reading that part of the manual.
What can I say, I'd be letting the side down if I read the whole manual before using the camera
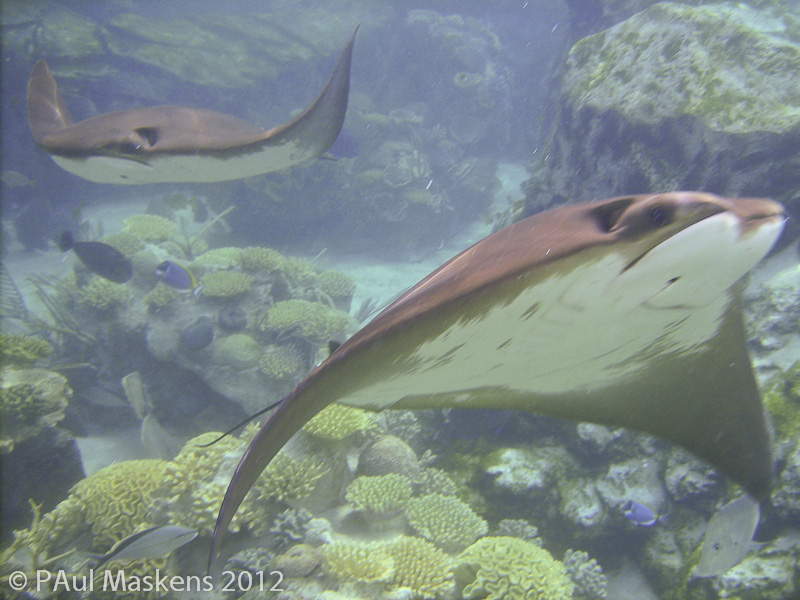
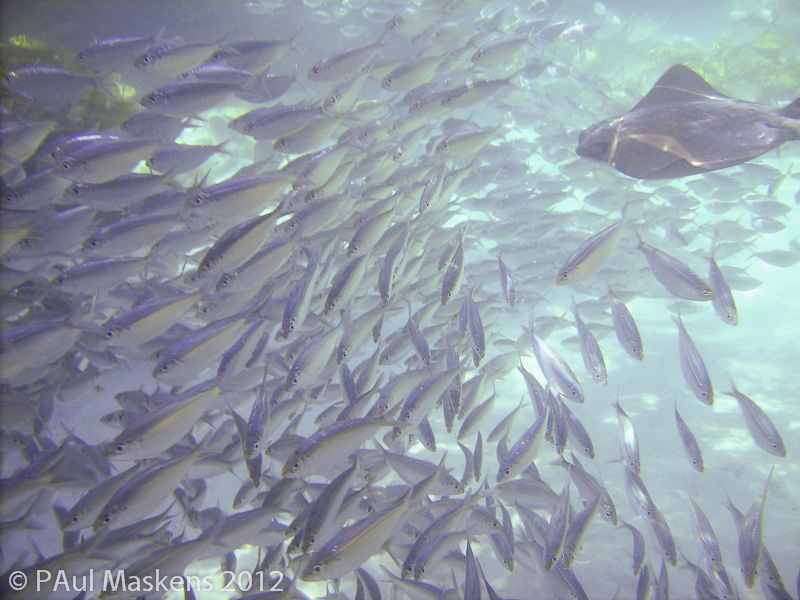
Sample images.
Typical of what a beginner could manage, I think
Well I was a beginner and got these on my first try!
cloudy sky does not make for good underwater photos...
and then the sun came out ...
Pictures of the camera itself.
Front:
It's missing the shiny metal bits from the front, which might be a good thing if I was sneaking up on fish.
Front and Back:
Buttons and Back:
Buttons and Open:
The desiccator has turned pink, which means it needs to be replaced. I will need to order a "moisture muncher" to be sure it's dry inside.
Battery/Card compartment
Battery and Card:
You have to hunt around to find cards as small as 1G these days, but googling Li-42B finds lots of suppliers.
Case Ready to latch:
First you press the case together against the o-ring to get it nearly closed.
Case Latch engaged:
Then hook in the first part of the latch.
Case Nearly latched:
Closing the latch pulls the case together and it snaps shut to this position.
Case Fully latched:
The small secondary latch prevents the case opening accidentally.
It needs a second push to fully secure the case.


 LinkBack URL
 About LinkBacks


 Reply With Quote
