As so many have asked how to create light rays like these
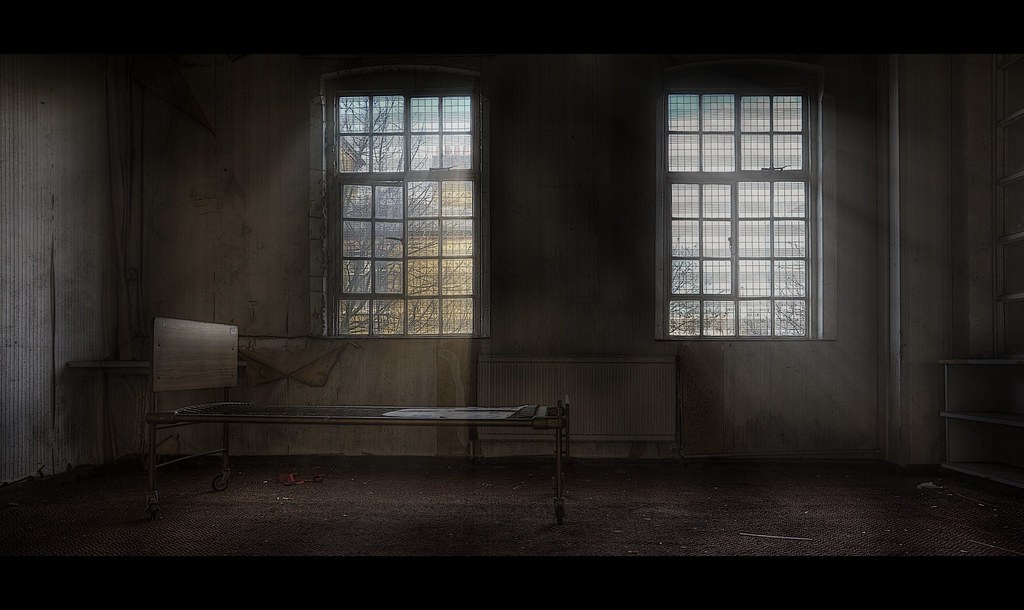
Rest Your Weary Head by vmlopes, on Flickr
.....I thought it only fair to right up a little tutorial...;)
So we start off with our base image.......(note this is an 0EV shot of a sequence that has not been tonemapped), after tonemapping and any other PP that you do.
I use PS CS5 so the commands I am using are for this.....probably the same for the earlier versions of PS also.
1. Open your image and duplicate the layer (CTRL/CMD & J)
2. Open the levels tool (CTRL/CMD & L) and drag the input levels up until only the highlights are left.
3. Next go to Filter, Blur and choose Radial Blur then chose Amount 100, Blur Method - Zoom and Quality - Draft. Adjust the 'Blur Centre' to match the intended beams with the natural direction of the sun through the window. The reason for choosing 'Draft' quality is because its quick and allows you to set the direction of the rays which may take multiple attempts. Keep trying this until you get the rough position sorted.
4. Go back to the Radial Blur tool and ensure that its all set - all good? Undo and now change Quality to 'Best'. Repeat this 3-4 times - each time you will see the rays become more refined.
5. Great, now change the layer mode to 'screen'.
6. Now open the levels tool and adjust the levels until the beams become proper visible.
7. You can now see that the light beams over stretched over the window frame a little - we need to get rid of this. Create a layer mask and using the brush tool, mask out the overlap.
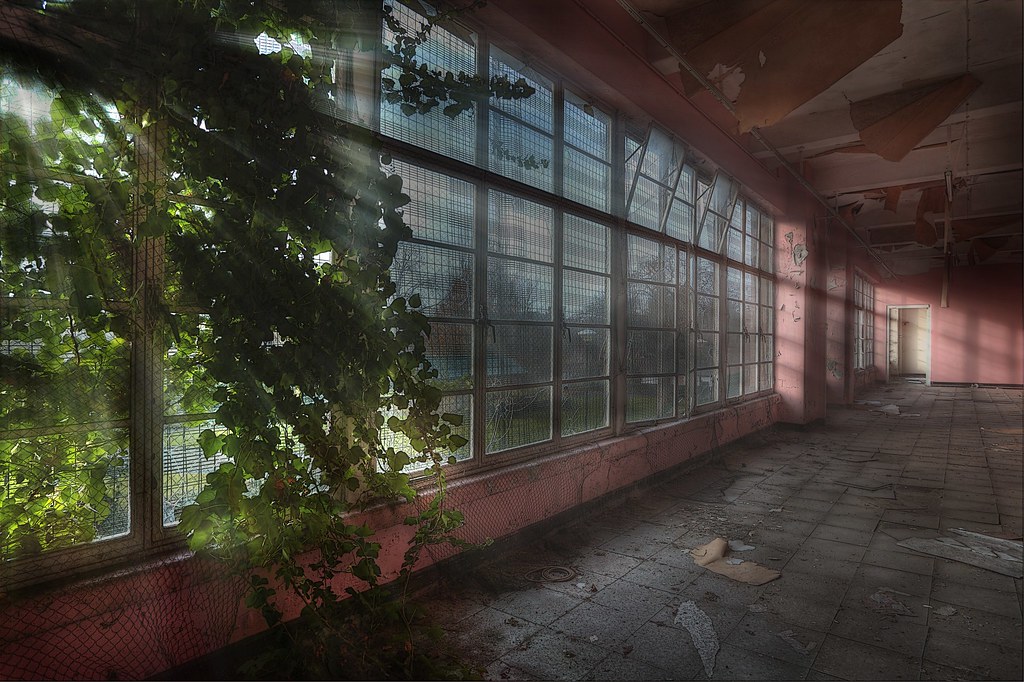
Et voila, merge and flatten layers - the finished picture! (this one has been HDR'd with the rays added in at the end)
I See Light by vmlopes, on Flickr


 LinkBack URL
 About LinkBacks


 Reply With Quote


